Hello Friends!
Keri here and today I am super excited to show you another amazing way you can use Marion's new Color Lab system...make your own watercolors!!
The super saturated pigment powder, mixed with a little water, makes for rich colors and a more opaque finish than normal watercolors.

Here's what I did:
I started by sketching a butterfly on watercolor paper. (If drawing isn't your thing, you can easily print your chosen image from your computer....just choose one with a good outline.)
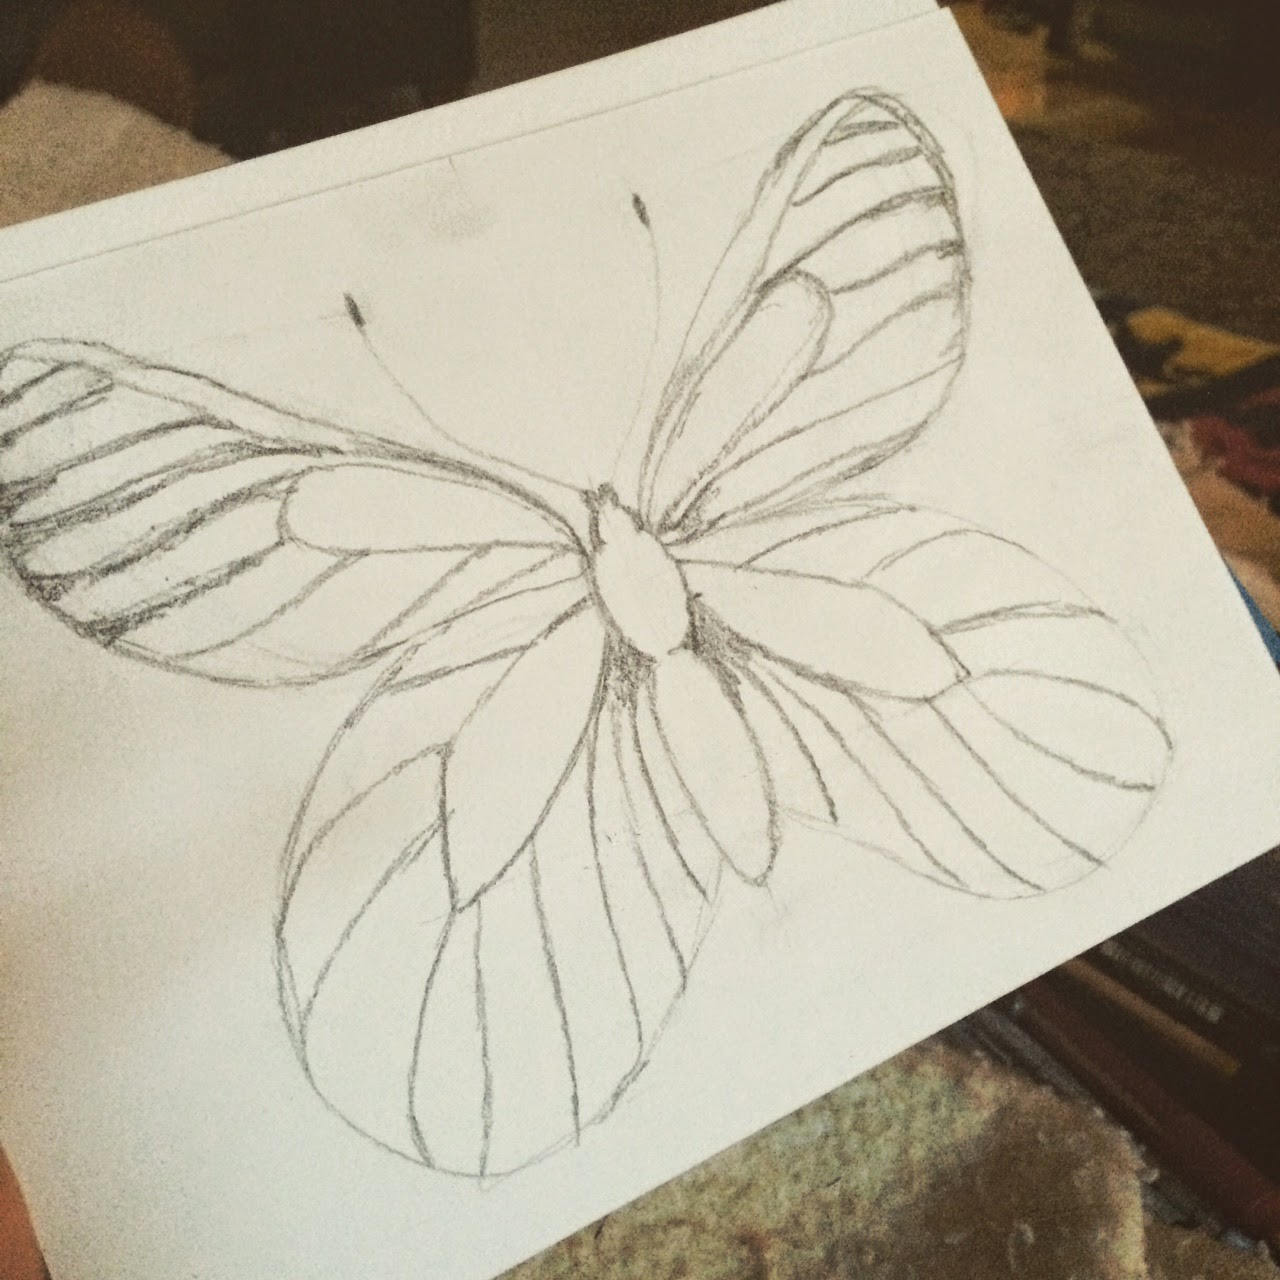
I then outlined it with a black sharpie.

I tested my Color Lab to see whether I needed to add clear gesso over my drawing.
Here is my test...as you can see, my sharpie stayed true with and without gesso and my Color Lab is smoother when used over gesso. It also dries faster. :)

So I decided I wanted to gesso my butterfly.

Next, I prepped my paint.
I added a very small amount of powder into wells of a paint pallet. Using the little scoop that comes with it, I used 1/2 a scoop if I was using a single color and just a dash if I was mixing colors.
This is a perfect time to play with new recipe ideas!!

Add 1-2 tablespoons of water, depending on the saturation you want from your colors.

Now...let's paint!!
Here's a little tip to blend two colors:
Apply 2 colors on opposite side of the section you are painting. Using one light/one dark makes the best dimension.

Now in between the two colors, add a little bit of water and allow the colors to naturally wick and blend.

Continue the process all over your image, working on one section at a time and mixing up using 1 or 2 colors.

Another tip? Allow one section to dry before using your watercolors on the neighboring section. If they get too wet, they will be drawn in to the neighboring section. You can see this just a bit on the border between this green and red section. I think it looks cool, but just be cautious if you would like a cleaner look.
Once I was done, I hit my project with my heat gun to speed up the drying process.
Lastly, I sealed my butterfly with a mixed of clear gesso, mixed with a bit of Color Lab gold powder.

For this process, you want to dab with a large brush instead of swiping and every few dabs clean wipe you brush off a bit because the brush might pick up a little of your colors. This happened to me and I liked the "molten" look it gave my butterfly!
Here's a close up...check out that sparkle!!

I hope you enjoyed my project today and are inspired to think of new and exciting way to use YOUR Color Lab!!
XOXO,
KERI
What a great project! Thanks for the inspiration.
ReplyDeleteThank you for stopping by!!
DeleteThe depth of these colours are amazing, just gorgeous with the gold over the top as well. Elizabeth xxx
ReplyDeleteAren't the colors amazing!!?? Thanks for stopping by!
DeleteLove it...can't wait to use mine...in fact going to go play with them now...thanks, Marion. Victoria
ReplyDeleteI would love to see what you made Victoria!! Thanks for stopping by!
Delete