Hi ladies
One of the first scrapbook classes I ever taught (nearly 10 years ago now!) was about creating your own embellishments from left over scraps of paper and other items. It came about because at the time I had a very limited scrapping budget, and I was loathe to throw anything away in case it came in handy one day!
I have to say that it is still one of my favourite things to do - create a one of a kind embellishment for use on a layout or card. So, over the next few weeks, I'd like to share with you some of my methods.
Part 1 - Layered Embellishments
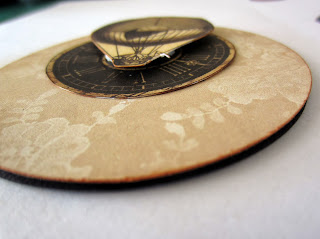
This is an ideal way to use up left over images from detailed papers. The secret here is to layer with foam tape to get dimension and interest. Here's one that I made using Nirvana papers and Mad Tea Party fussy cut flowers.
Start by assembling the items you want to use, and create a background layer from plain cardstock (I used black). Ink the edges to get rid of unsightly white core edges and to create a more seamless layering effect.
Arrange the items in a fashion you are happy with, then gradually adhere the pieces using foam tape in between the layers.
And another:
I love to make these when I go to a crop night. It requires very little preparation and supplies, and is actually quite a therapeutic way to spend the evening!
Join me again in a few weeks for Part 2 of Handmade Embellishments. We'll be looking at ways to create unique cabochons.
Thanks for stopping by!
Maggie


Beautiful embellishments. It's a great idea to use what we have and we can make them to match our project. Thanks for sharing, Johanne Lacombe
ReplyDeleteMaggie I love doing this kind of thing great way to use scraps too. fantastic post. can't wait for part 2
ReplyDeleteI always love doing stuff like this too! :D
ReplyDeleteMaggie, I love this idea. I save all my scraps and then rarely use this.
ReplyDelete