Showing posts with label paper flower. Show all posts

Sunday, October 4, 2015

Exploding Box Album by Irene Tan


Hello Marion Smith Designs fans! Today, I have an exploding box album to share with you all. This exploding box features the sweet Posh collection by Marion Smith Designs. This album contains pictures taken during my niece's birthday party.


I used some white paper flowers and come color lab paints to color the flowers.

There are multiple flaps on each sides of the box. This way, she can add more pictures or journaling when she gets it.


Supplies Used:
Brooklyn, Rose Tea, Ritzy, Rosey, Priceless, Boutique/Posh collection
Color Lab kit
Junque & Gems - gems
white inkable paper flowers vine

Have a great scrappy week and hope to see you all again soon!
xx Irene Tan


Friday, June 26, 2015

A Junque Gypsy layout with Sandi Clarkson


Hello there, Marion Smith fans! I'm back today with my second post for the month featuring the oh-so-gorgeous Junque Gypsy collection in the 12x12 version with a subtitle tag from the 6x6 version. I've always loved anything that's a little Boho Chic, so when I stumbled upon this fab vintage photo, I couldn't wait to scrap it! I may have to even use it a couple of more times to satisfy the inner "Gypsy" in me! 

I love that paper tearing has become popular again because it gives an instant distressed look. I used a bit of super heavy gesso, a stencil and some mist to give my base paper some depth and texture. Then I framed the photo with a chipboard piece, some florals and a gorgeous Junque and Gems Aqua Button. When I sacrifice those babies, you know the layout is very special to me! It is super sparkly IRL. Amongst my floral cluster are some Time Keeper paper flowers and a piece of black netting from an old produce sack. 

Here are some close-ups for you:


I hope you're having a creative week! 
Thanks for coming by! 

Sandi

Marion Smith Products used:
Junque Gypsy Dolce Vita
Junque Gypsy Nota Bene
Time Keeper Paper Flowers
Junque & Gems Aqua Buttons

Petaloo flowers
Blue Fern Studios chipboard


Thursday, August 7, 2014

My Debut Post with Marion Smith Designs

Hello friends!

Today I'm bringing to you my very first post for Marion Smith Designs. It's been awhile since I've created with such amazing artwork and detailed papers so it was definitely a lot of fun!

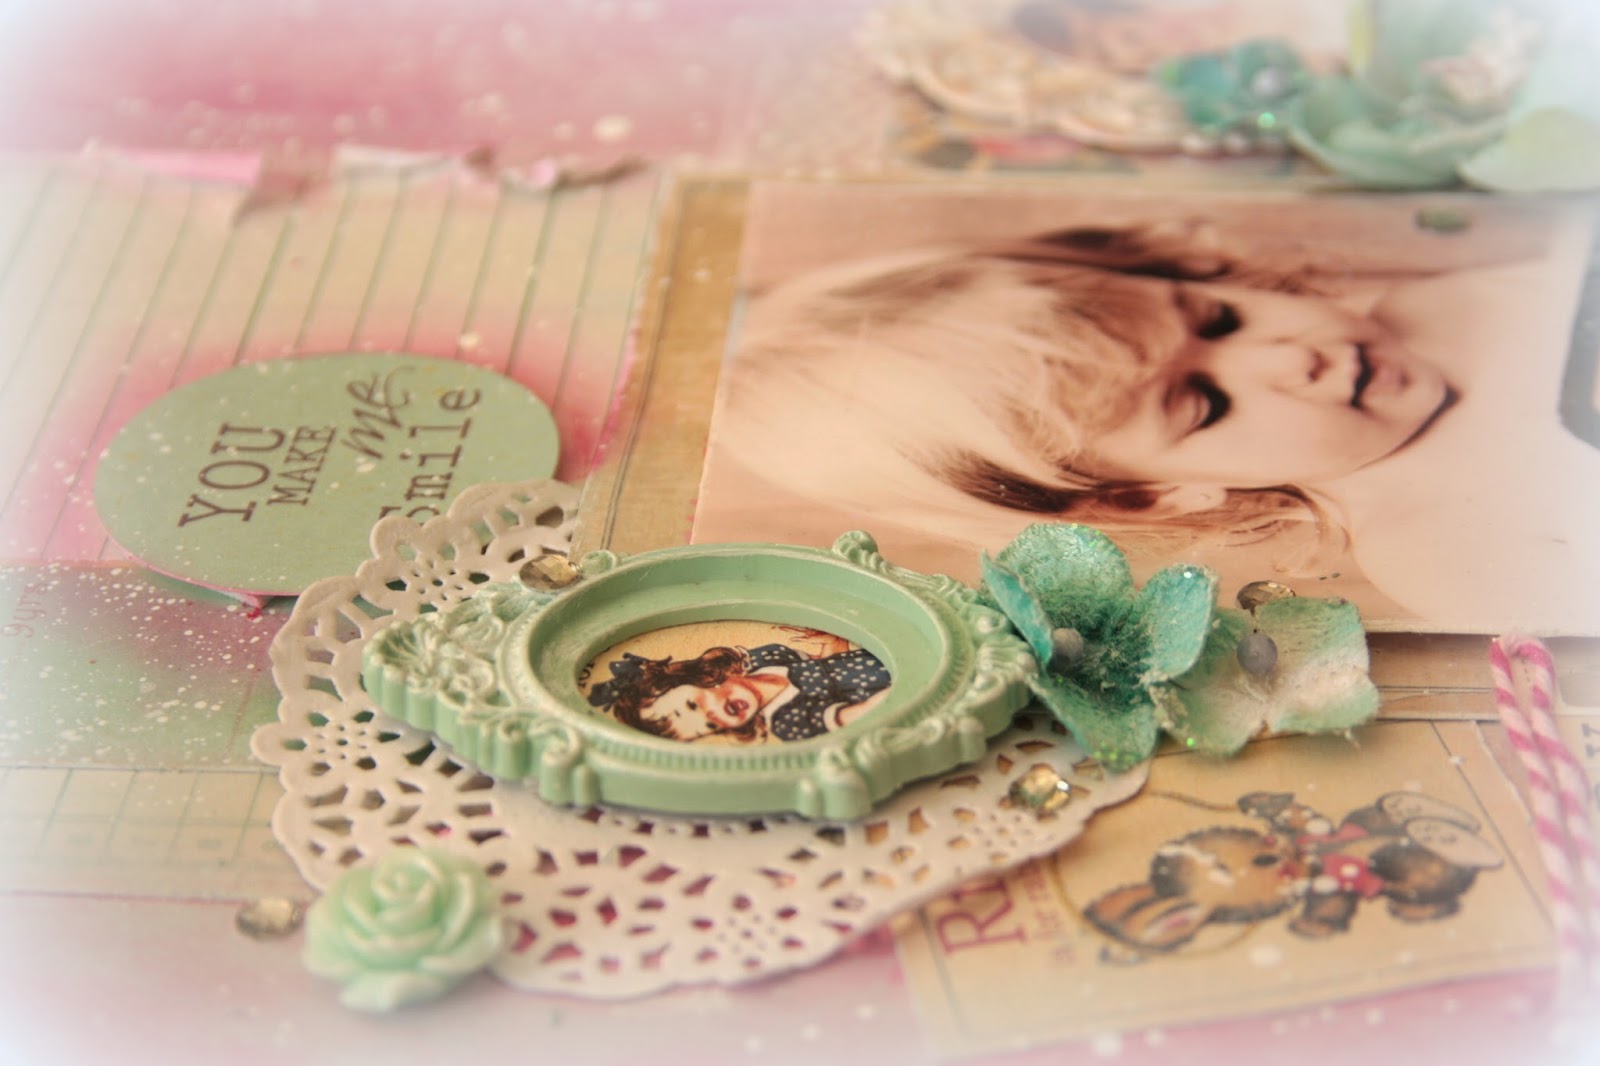
"You Make Me Smile"


This was created using papers from the "Mad Tea Party" collection. Just love the amazingly rich colours in this line, and also different designs that I can fussy-cut out for layering. 

some close ups:


I actually made those flowers with the new Bloom Impressions Tool and it was so much fun! So very different from the pre-made flowers that I'm used to but it has definitely added a lot of dimension to my layout. Plus I can add matching Junque and Gems stuff to jazz up the flowers. Now I'm just working with patterned paper but I'll be trying out fabric real soon. As you can see, lots of fussy cutting and layering the different pieces. 


Junque and Gems resin flowers, jewel and a metal butterfly. I also added a flourish chipboard which I lightly dabbed with acrylic primer randomly. 

Supplies:


So that's all I have for now. Hope you've enjoyed my project for today.
Until then, happy scrapping!

love,
Jelissa

Saturday, March 29, 2014

Layout "You make me Smile" by Ana Paula Leal

 Hello, Ana Paula is back,
 
bringing to you today one layout  
with beautiful collections of Marion Smith designs
 
A very feminine layout, with elements that remind us  the sweet childhood.
 
Delicate shades of pink and blue give  sweetness to this page
 
 give it a retro look .


 . 


supplies:

Junk & Gems Marion Smith Designs
Wild & free paper
Carmie Paper
Selfie Portrait Paper
Nonsense Paper
Garment District 6X6 paper pack
Doillies by Marion Smith Designs
Petaloo Flowers -Botanica Collection
Petaloo Flowers - Flora Doodles


Saturday, March 8, 2014

So Grateful

Hi everybody and happy Saturday

I have so many things to be grateful for.
That inspired me to make this simple and elegant card.
I wanted this card to be very light 
and I decided to use a lot of bright colors.


I used these papers for this project:


 Have a wonderful weekend my blog friends and thank you for stopping by!
xoxo
Aneta

Tuesday, January 28, 2014

Beauty Call

Hey paper peeps! Hope you are doing well! Today I would like to share a simple and fun card with you, using Marion Smith's Garment District line and some Junque & Gems! I really love layering and there is a sheet called "Picture Perfect" that has all of these great elements to cut apart, not to mention beeee-utiful colors! I am in love with this minty aqua color! So here's what I came up with;

 
I just kind of placed my layers in a staggered position and added a die-cut doily, and it turned out super cute and took me only a few minutes! The pink rose that is fussy cut on the right side is from the Mad Tea Party Collection.

 
I am loving these Junque & Gems pieces! They are so fun and there are quite a variety of them to keep your creations interesting!

 
This minty blingy one is my fave, it is so sparkly I just love it.

 
This would be a super fast and easy card if you were in a pinch! Plus the colors are pure candy ;)
 
Be sure to check out the other cut apart element papers in the line, they are gorgeous!
 
Thank you for stopping in! Have an amazing day!
 
Love, Sarah
 
P.S. I used;


Tuesday, September 24, 2013

It's Fall Y'all!

Hey there! It's Sarah here, and I wanted to share a Fall card with you! I am so excited that it is fall, it is one of my favorite seasons! The colors are just so beautiful, especially on the leaves. I wanted to create that same color effect, so I took some of the "Up & Away" paper from Marion Smith Design's new Nirvana collection, and a piece of an aged looking paper with text on it from the Scarlet printables collection. I die cut the papers into a large leaf and a small leaf and used water colors right on the die cut leaves to create the pretty fall colors!


Also, I printed out the Tattered Rolled Roses Spring Mix Printable flowers, and used some Walnut Distress Ink to grunge them up.


Add a grungy tag, burlap, and some brown glittery berries and you have yourself a beautiful fall card for someone special!

 
Thank you so much for stopping by and have an amazing day!
 
Love, Sarah


Tuesday, September 17, 2013

Mixed Media Canvas - Tonya Gibbs

Hi everyone, today I want to share a piece of art that I created to inspire a group of friends.  For those who have followed me for a while know that I'm in Weight Watchers.  Last week we had an awesome meeting where we shared our  group's success stories.  The three who shared lost a combined weight of over 160lbs.  WOW!  That in itself is encouraging to me!  We discussed the power in believing in yourself.  I was inspired in that meeting to create a canvas that I gave away at our meeting last Monday night.


Showcased at the bottom of the frame is Marion's Rolled Roses.  I love how the black in the roses pulls in the black from the chalkboard.  I also used scraps from her other digital journal lines to create the butterflies.  The butterflies were then dipped into melted UTEE to give them a glass like texture.


I wanted the frame to have a weathered inconsistent look.  The frame is one of the ornate wood frames with an inside opening of 5x7.  I painted a base coat with bronze distress paint, then crackled small portions.  I used an  Off-White linen acrylic paint to white wash over the top.  Once it was dry, I then sanded some areas to further disstress the wood. I used an Unity Stamp that says "If You Can Imagine It, You Can Achieve It!"  repeated all over the top  of the frame's surface.   I like that you are unable to see it printed clearly anywhere.  This makes you really focus on the words, and not just the quote.


For the background, I chose the Mad Tea Party paper "Roses 'R' Red".   I loved the repeated rose and clock patterns.  So I ripped it into irregular pieces, and combined it with some vintage recipes from a low-calorie cookbook.  I then covered it in gesso and recolored it with pink and gold gelatos.   A TCW damask stencil and molding paste were then added and the entire piece was colored again with gesso, gelatos, and finished off  with the bronze distress paint.  When you look at this canvas, the background stays in the background, but a closer look reveals the subtle hints of the patterned below the layers of paint!
 
 
For the quote, I used a saying from another Unity Stamp "Trust in your potential, enjoy the process, try something new, explore possibilities, but most of all BELIEVE!"   The stamp was ATC size, so I had to hand write it on the 5x7 cardstock.  Hidden inside the spray at the bottom, I have a clock - to remind you to take time for yourself.  A token that says "courage"  so you remember to have the courage to change your habits. And one that says "Believe" To reinforce belief in yourself!  

To me - this piece looks like a Tuscan kitchen.   The strong terracotta colors, combined with the rich roses and the chalkboard draw me in, and take me to another place. 


Thanks for stopping in today,

Tonya Gibbs
http://www.psychomomscrapbooks.blogspot.com

Resources:

Marion Smith Designs  Roses R Red, Rolled Roses
Faber Castle Design Memory Craft:   Gelatos - Pink, Hot Pink, Gold
Liquitex -  Gesso & Surface Prep Matt Medium
Ashley Home Decor - Vine
Martha Stewart Crafts - Butterfly Punch
Ranger - Utee, Distress Paint in Bronze. Coffee & Jet Black Archival Ink
Idea-ology - Tokens
Gely Roll - White Gel Pen
Cardstock
Cookbook
Doily
Prima - Clock
Unity -  Stamps