Sunday, October 4, 2015

Exploding Box Album by Irene Tan


Hello Marion Smith Designs fans! Today, I have an exploding box album to share with you all. This exploding box features the sweet Posh collection by Marion Smith Designs. This album contains pictures taken during my niece's birthday party.


I used some white paper flowers and come color lab paints to color the flowers.

There are multiple flaps on each sides of the box. This way, she can add more pictures or journaling when she gets it.


Supplies Used:
Brooklyn, Rose Tea, Ritzy, Rosey, Priceless, Boutique/Posh collection
Color Lab kit
Junque & Gems - gems
white inkable paper flowers vine

Have a great scrappy week and hope to see you all again soon!
xx Irene Tan


Thursday, October 1, 2015

Cute As A Button Layout by Shanna

Hello to all you lovelies out there. Shanna here with a layout. I just love this photo and thought it went great with these Tea Party papers.


I love the layers of papers I added along with some flowers and a doily. I did add some gold sparkle to the background for some extra shine.


I added a chipboard title that was painted with black paint. 


I really love the tag I cut out from one of the cut out sheets  (sorry I don't remember which one though). 


I also added some cardboard under the photo for a little dimension. 


Thank you so much for stopping by today. Make sure you keep coming back for more inspiration!


Items Used:
Tea Party Collection - Wonderlnad
Tea Party Collection - Rabbit Hole
Tea Party Collection - Tea Party
Tea Party Collection - Alice

Monday, September 28, 2015

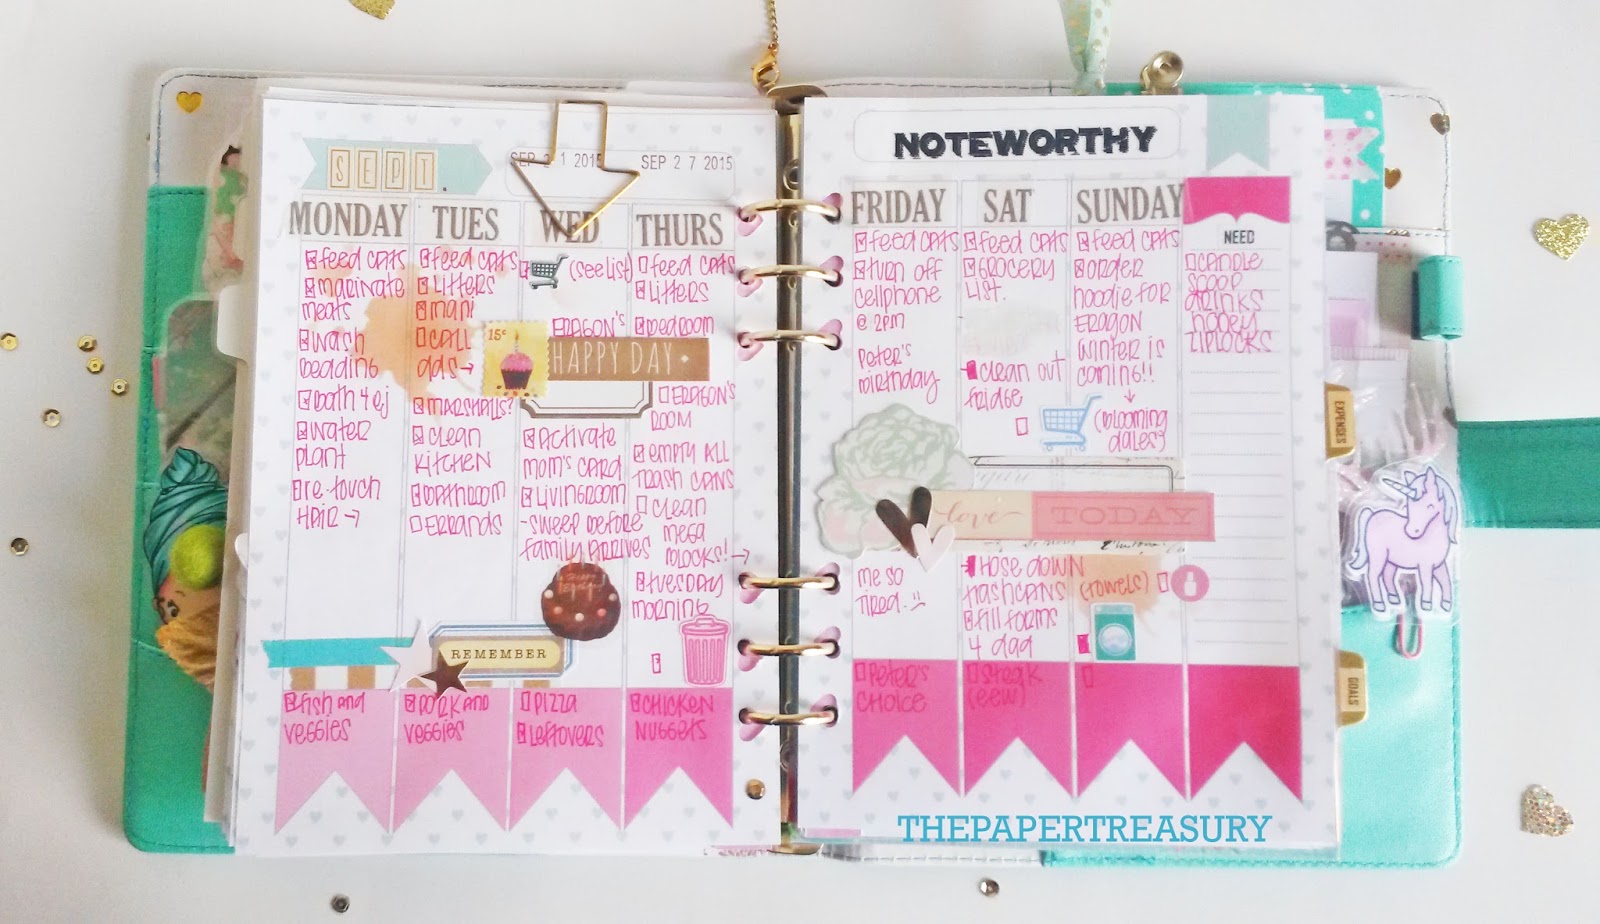
Araceli from the Planner Team

Hello, today I wanted to share with you a completed week (wk 39). I used the Sweet Life Weekly Inserts

Here is the left side of the spread. I decorated the page with Washi Tape and stickers.      
and the right side of the spread. That is all friends, until next time. 

-Ara

Sunday, September 27, 2015

POSH layout with Yuko


Hello!Yuko here.
Well, I began to make this layout in the end of last year, and it was being left!
I created it again and finished it!!!


【explore】
We  went in one "Amanohashidate" of the famous place of Japan.
It is series "POSH" of the trip theme of Marion Smith to use.


The simple drape which is made paper of Marion Smith.
 It's used a property of the paper of Marion Smith


I love the atmosphere that is a vintage though it is this POP very much.


<Marion Smith POSH>
Priceless/Boutique/blooklyn/collage


Thank you!


Tuesday, September 22, 2015

Card by Yasmin Tölche

Hello everyone! It's Yasmin on the blog today and I have a sweet card to share with you. This card fits for loads of occassions since I didn't write any specifics on it.


I've used different papers from different collections on this.. It's kind of a "scrap-paper" card. You can find papers from the Junque Gypsy collection, Romance Novel II and Posh collection.


I seriously wanted to make a card with this large lush resin Rose that Marion Smith has designed. It's just so fantastic. I added a few other flowers and loads of pearls and microbeads.


This little bling heart is also a MSD embellishment. Isn't it the sweetest? 
Thank  you so much for stopping by the blog today! Have a great day :)


Sunday, September 20, 2015

You & Me Layout by Irene Tan


Hello! Hello! It's Irene here and this time, I would like to share with you a layout featuring Marion Smith Designs "Romance Novel Ch.2" collection.

Besides this collection, I've also used tons of paints from the Color Lab kit to color the flowers in this layout.

With these color lab paints, I've created more Fall colors on this layout.

Here are some close-ups on this layout.


Supplies Used:
True Story, For Keeps, Forever, My Type, Sweet Something/Romance Novel Ch.2 collection
Color Lab kit
Junque & Gems - Bird Nest

Hope you all like today's layout and see you all soon!
xx Irene Tan

Thursday, September 17, 2015

Timekeeper Mini Album

I am so glad to be back inspiring you all with more lovely inspiration with the gorgeous Marion Smith Designs. 

I absolutely feel in love with the Timekeeper collection.

I decided to make a quick and fun mini album. I even took some pictures to share how I made it. So come along. 


So let's start with making the base.


#1 - First I scored a 12x12 at 1/2", 5 3/8", 6", 6 5/8", and 11 1/2".
#2 - I turned it and scored at 9".
#3 - I folded it straight down the middle.
#4 Then I cut up the the 1/2" off each end leaving the 1/2" after the 9" score and I cut up the middle from the bottom up to the 9" score as well crating the pockets.

#5 - I cut in on the flaps and angled the edges  so they could be glued down.
#6 - I folded the flaps accordingly however this is up to you if you want flaps or not.
#7 - Fold in the flaps and glue them down. 
#8 - I trimmed the length of the mini down to how long I wanted it. Basically I trimmed 2 inches because I wanted it to be 7" tall. 


#9 - I punched holes for my rings to go through.
#10 - I added rivets so the paper wouldn't tear from use.

Then embellish as you see fit. 


I hope you try this mini album out as I would love to see what you create!
Shanna